
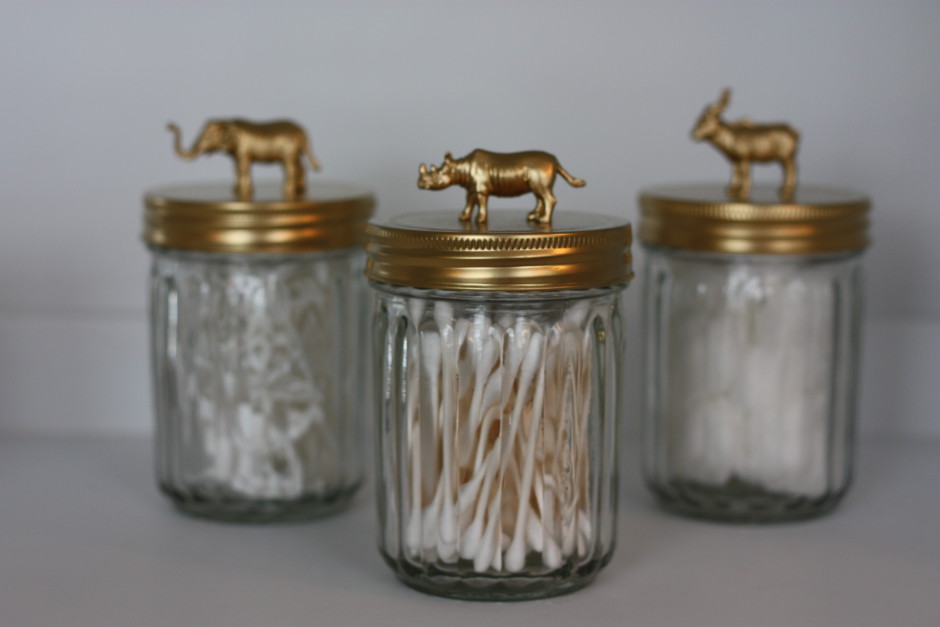
Don’t these look like a million bucks?! They were SO easy (and affordable) to make too!
A friend invited me to a gold craft night where the materials needed to “goldify” were supplied and all we had to do was bring something we wanted to make gold!
Knowing the date for the craft night was quickly approaching, I set out to find the materials! I found the jars at Tuesday Morning. I was so excited to stumble across these because I wanted to find something like a mason jar, but more unique … these were perfect! I picked up a set of four, for only $8! Next I headed over to my favorite party store for the animals. They sold 12-packs and also had a bulk section where you could pick and choose individual animals. I bought a pack of safari animals and also picked-up a few dogs from the bulk section.
I thought it would be a good idea to super glue the animals to the lids a few days before the event so they would have enough time to dry. I picked out my four favorite safari animals and positioned them on the lid in the exact spot I wanted them. I then made a small dot with a permanent marker under each of the animal legs so I would know where to glue. I set the animal to the side and put a small dab of super glue over each of the marker spots. I quickly placed the animal back on the jar and held for 60-90 seconds. To make sure the animal legs were glued on tight and flush to the lid I put a loose fitting rubber band around the animal back/jar lid. (Make sure your rubber band is not too tight or the legs will start to loose their footing!) I was now ready for gold night!
At the event I used the Rust-oleum Specialty Metallic Gold spray paint. The host was really knowledgeable about spray painting and taught me some valuable tips. She recommended spraying 10-12 inches away from your item and always starting to spray away/off your item. I would start spraying just to the right of my animal lid, do a smooth past to the left, stop spraying, and repeat. Each repetition I would rotate the lid to make sure all surfaces were covered. I did 3-5 “passes” and then set the lid aside to dry. I sprayed the other three lids and by the time I had done each of them, the first one was dry and ready for a second coat. They only needed two coats so I was quickly complete with all four!
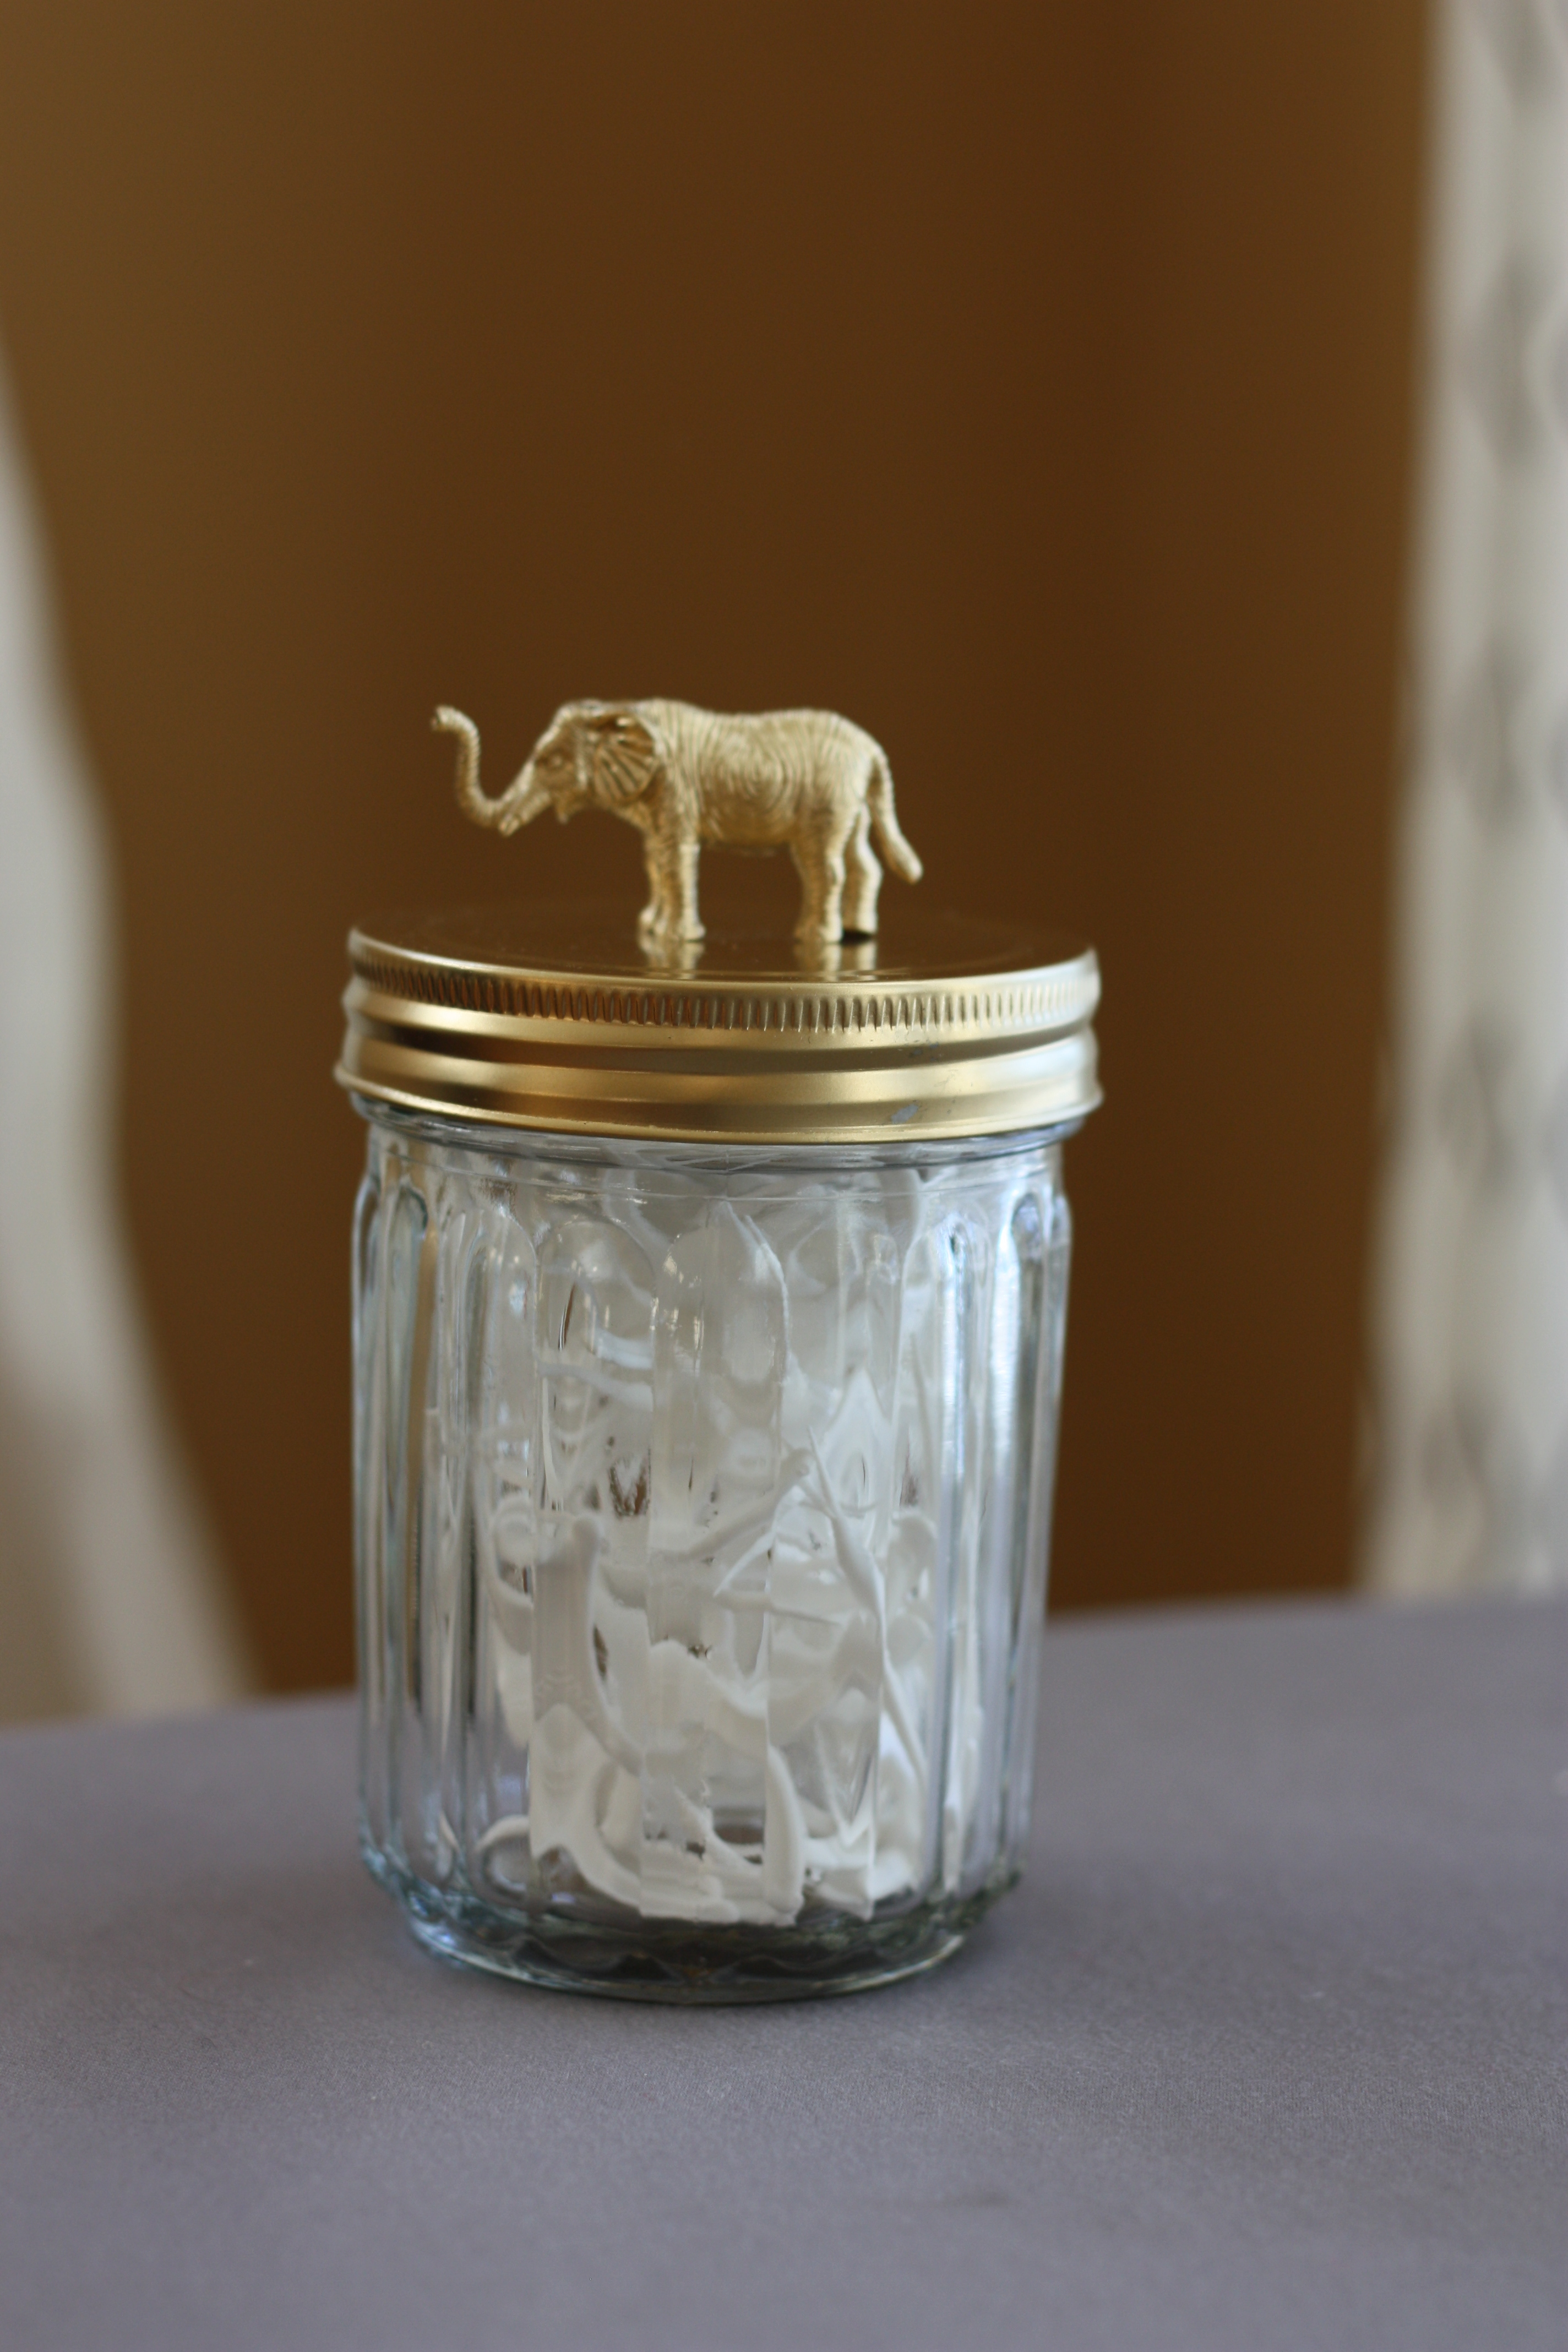
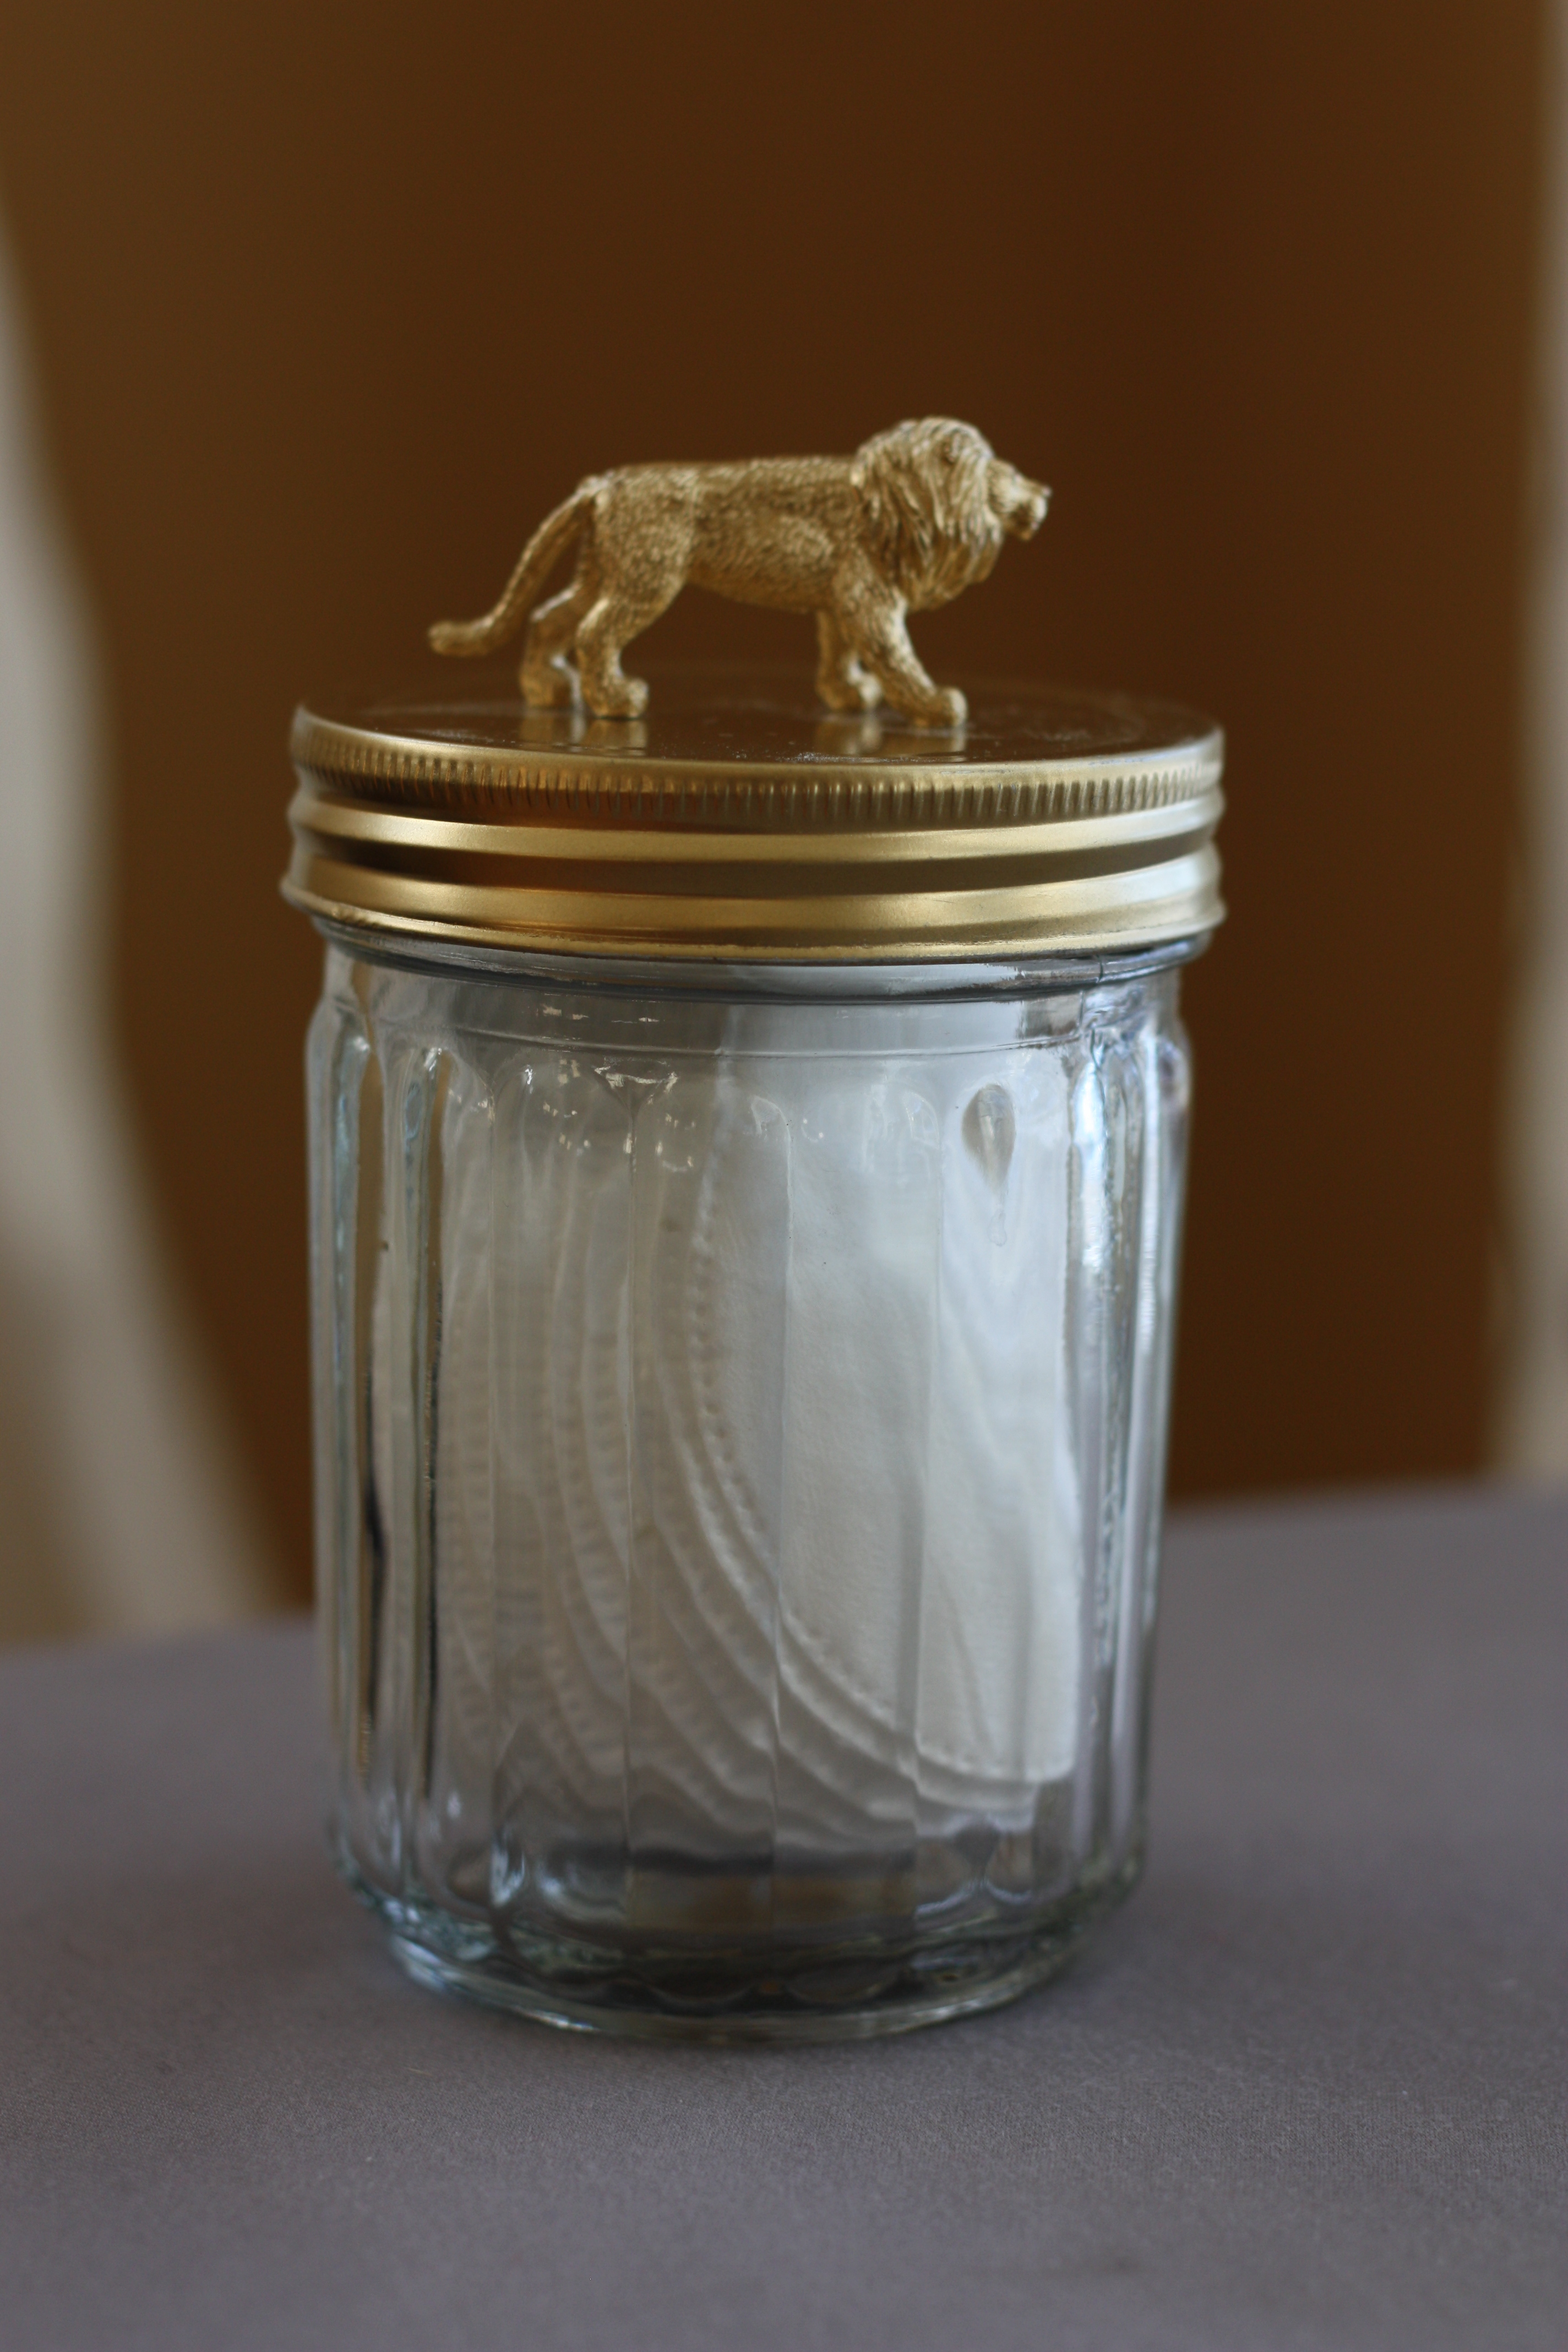
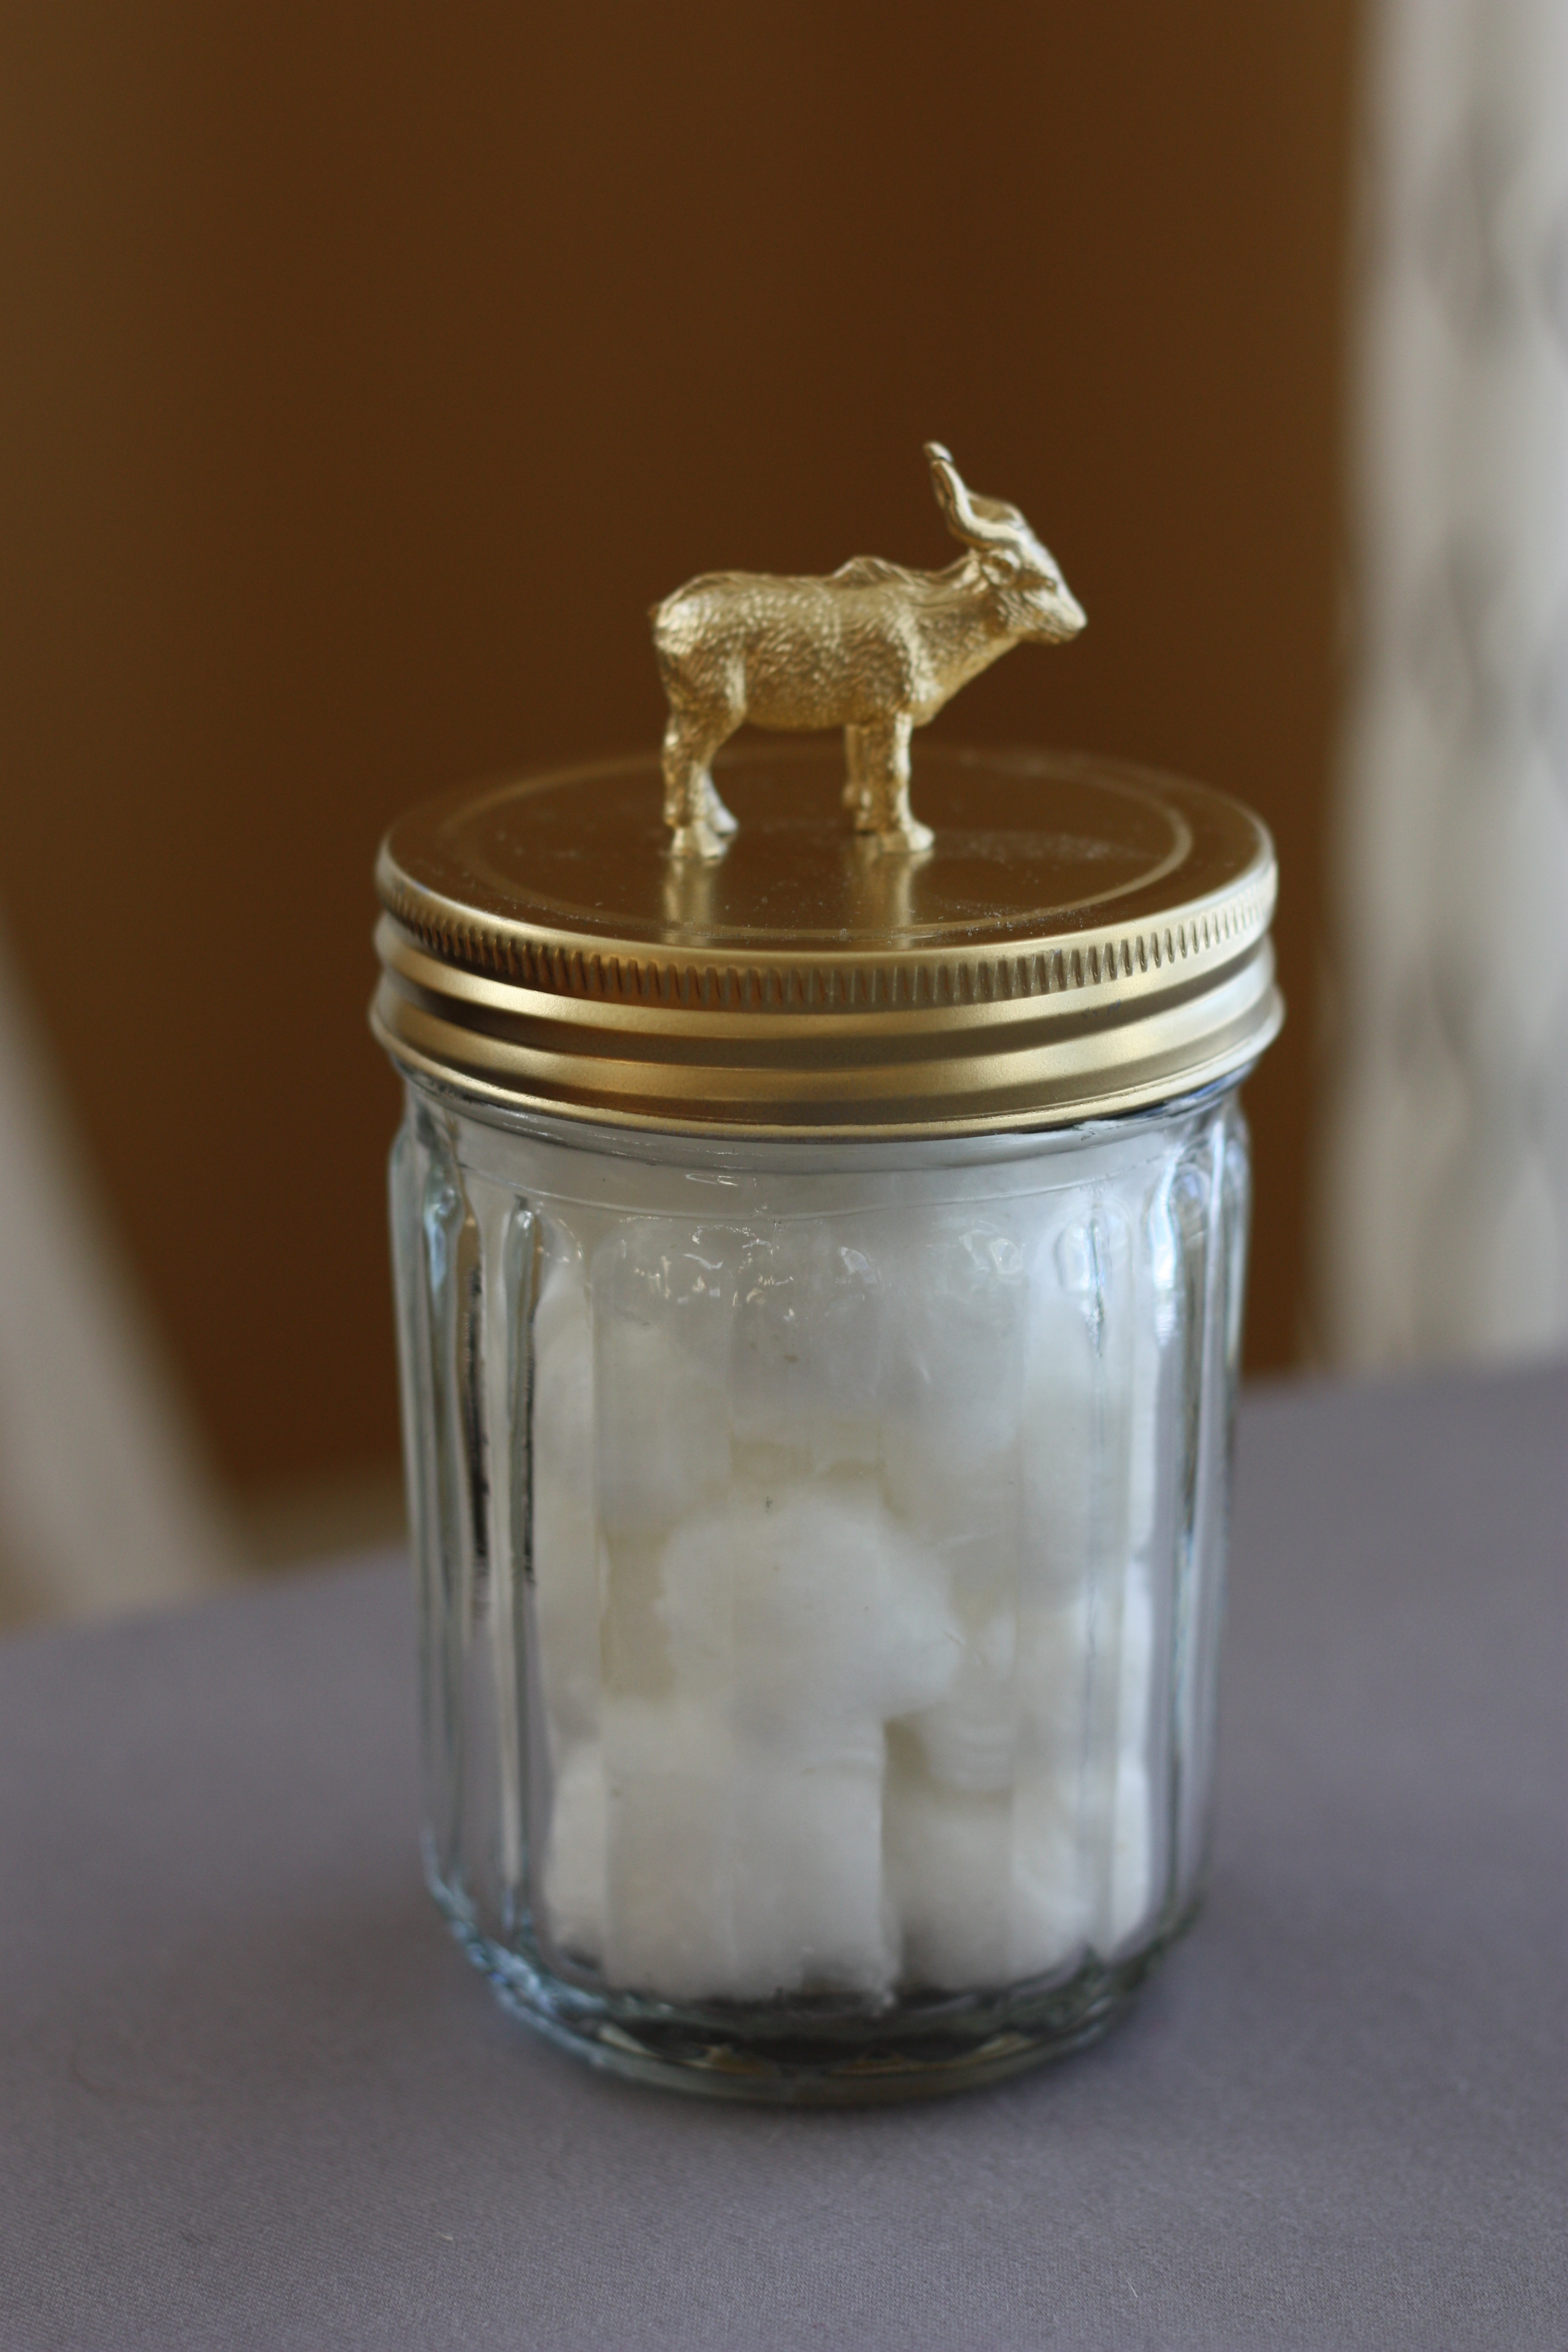
Here is a close up of each of the jars. See below for instructions and steps to do the project yourself!

Materials:
- Super glue
- Permanent marker
- Rubberbands
- Animals
- Jars
- Spray paint
Steps:
- Wash jars
- Place animal on lid in position where you want it to stand
- Place a permanent market dot under each leg to mark the spot where you will glue
- Dab a very small dot of super glue on each mark
- Place animal on glue spots and hold for 60-90 seconds
- Loosely wrap a rubber band around the back of the animal and bottom of the lid to hold animal in place (this will help it dry with the legs firmly planted on the lid)
- Once dry, spray paint animal lids
- Once dry, you are ready to fill and use!
No Comments